


Best Visual Studio Code extensions and settings for Ruby and Rails
I’ve been using Ruby for three years and Visual Studio Code has been my preferred IDE since day one. Coming from a Java background, I initially tried using RubyMine: it had several feature I was missing on VS Code but it was resource-expensive and I didn’t like the UI (I know it has improved recently).
This led me to seek out the best VS Code extentions and settings to work with Ruby (and Ruby on Rails) to brings some of the RubyMine features I was missing.
I am currently using these extensions on both MacOS and Linux (Ubuntu/Fedora) but I’m confident that everything should work fine on Windows as well.
Here are the extensions that save me a lot of time every day and make programming with Ruby less painful a pleasure! I will also share my JSON settings so that you can have everything setup and running in a few minutes 🚀
Copy Ruby Reference
First we go with Copy Ruby Reference, a time saver extension, which simplifies copying the full name of a Ruby class. Just right-click and select “copy Ruby reference” to copy class names including all their modules.
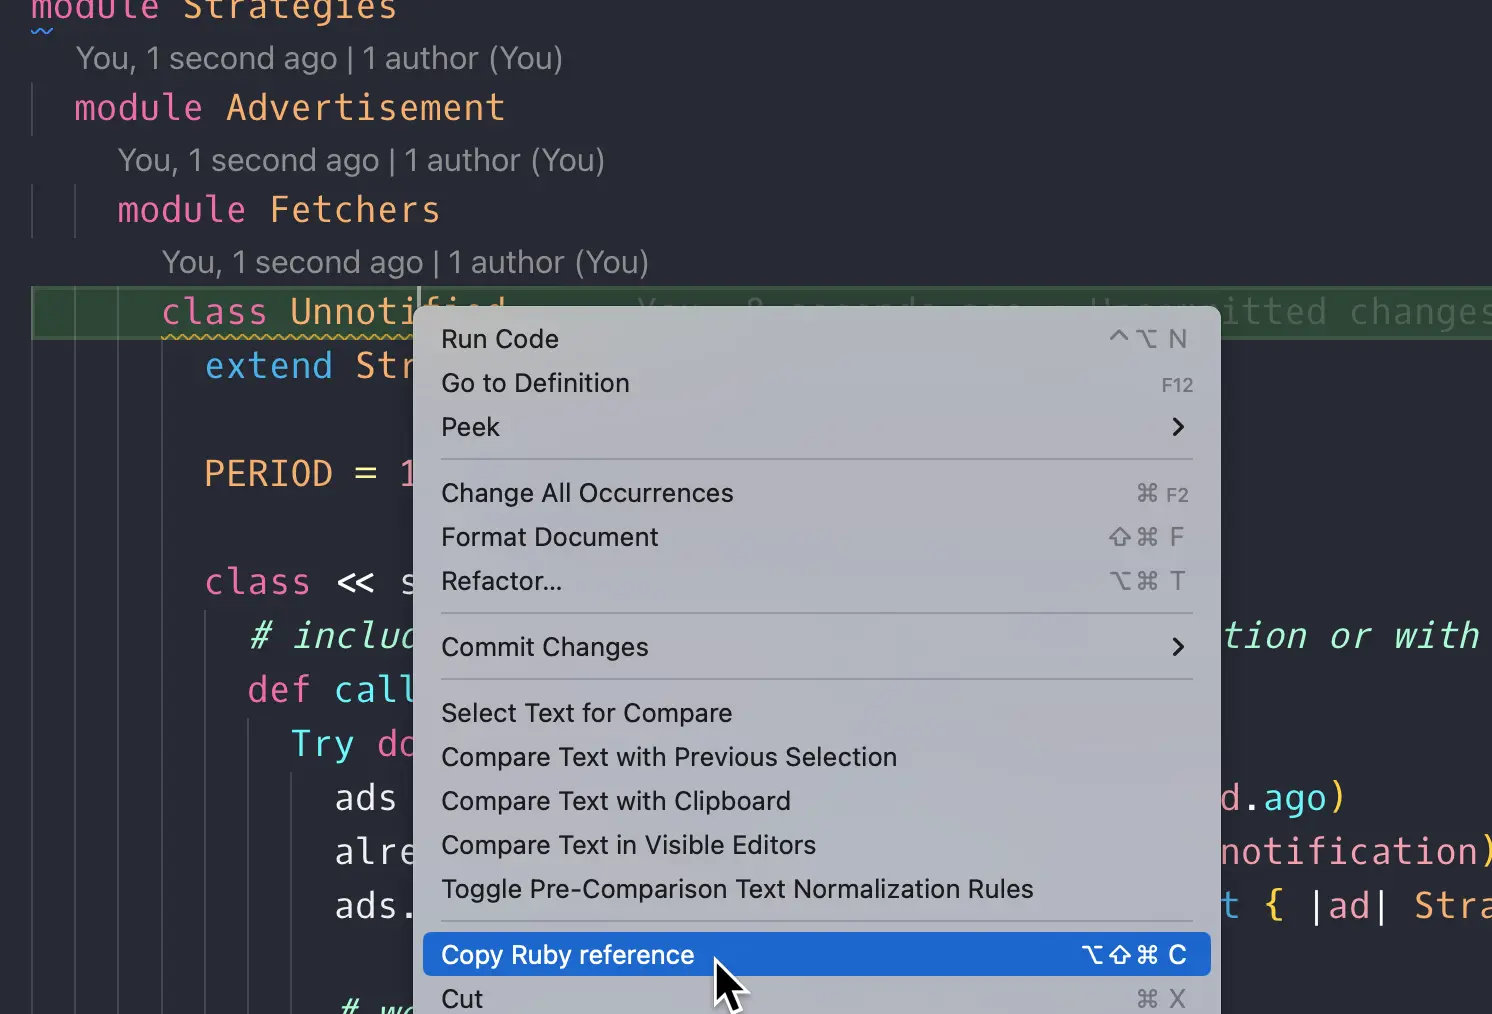
So you will get Strategies::..:Fetchers::Unnotified in your clipboard, ready to be pasted and used in your code.
Solargraph
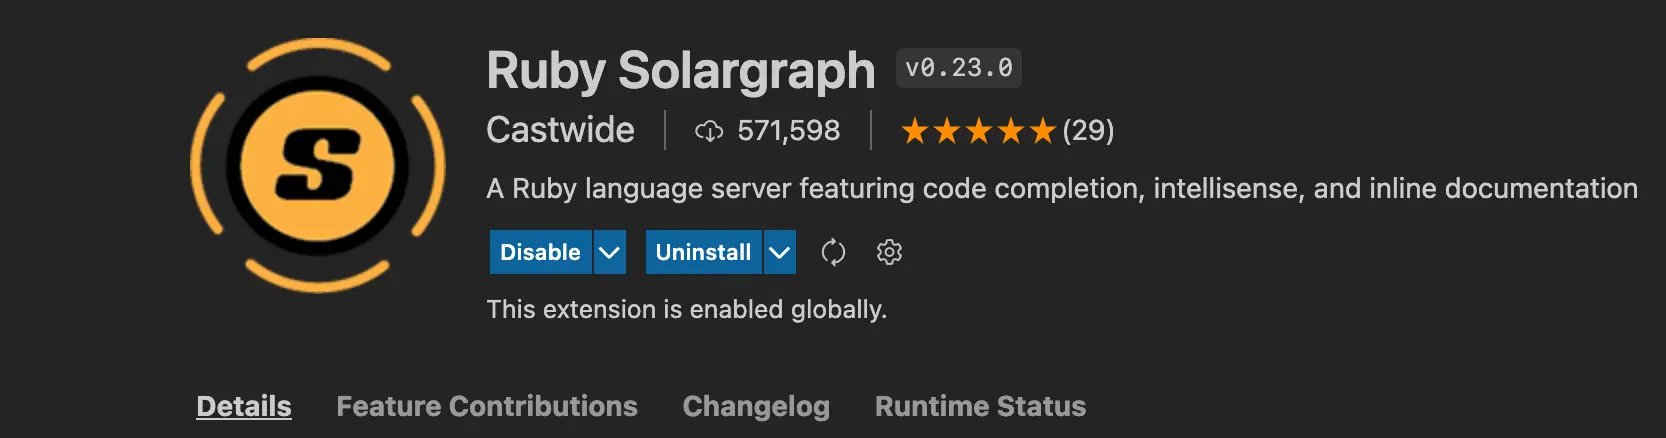
Solargraph is an essential extension for working with Ruby, as it allows VS Code to understand your code and provide helpful features like intellisense, code completion, and inline documentation.
If you have already installed and configured Solargraph then you can jump to the tip section, otherwise follow the steps to install it.
Installing Solargraph
Solargraph requires its Ruby gem to work properly, you can install it with:
gem install solargraph
and install the Ruby Solargraph extension for Visual Studio Code.
Then, find the gem’s location:
which solargraph
and copy the result, that in my case is /home/chri/.rbenv/shims/solargraph because I’m using rbenv (it is not important at the moment).
Open the VS Code JSON Settings and paste the following lines:
"solargraph.commandPath": "YOUR_GEM_PATH",
"solargraph.formatting": true
where commandPath is the path you obtain by running which solargraph.
Solargraph tips
In previous versions of Solargraph I used to run solargraph bundle to analyze the project dependencies, download all the gems documentations and obtain intellisense and code suggestions. Sadly, this command has been deprecated with Solargraph 0.50.0.
Luckily we can obtain similar results by using the yard gem.
Installing yard
Install the yard gem with
gem install yard
now, download the gems documentation and RBS files with
  yard gems
  yard config --gem-install-yri
These two lines ensure your project’s dependencies are analyzed, the gems are documented, and get a chance to have intellisense.
Ruby LSP
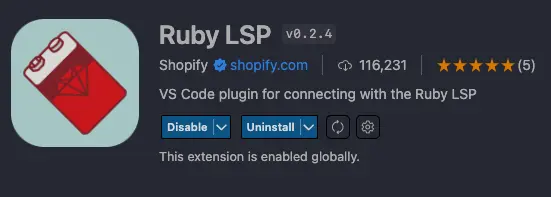
Ruby LSP is the new suggested extension to work with Ruby by the VS Code docs. I must admit I was full of hope when I first went to install it but it was a bit delusional. Don’t get me wrong, it must be hard to work with a magic language like Ruby but this extension is not ready to fully replace Solargraph.
Pro:
- Easy to install. It does it all by itself, no need to run
gem install solargraphor whatever. - It also replaces rubocop as formatter if well configured
- It can use rbenv by default with
"rubyLsp.rubyVersionManager": "rbenv" - Faster than the old Ruby extension
- Debugging and breakpoints out of the box, to be honest I did not test this feature since I’m a heady byebug user but it could be really appreciated if you come from RubyMine
Cons:
- I do not see any suggestion while writing code, like at all
- The
Go to definitionalso,cmd+click, sometimes do not work - Every time you change the Gemfile.lock a popup appears on the bottom-right of VS Code to update the gems/documentation/whatever_it_is_doing, it could be annoying if you have many gems and it slow down your machine
So, it has its pros and is going to the right direction, this will probably be the future of Ruby on VS Code but at the moment it does not offer any life-changing feature while having some annoying downturns. It’s up to you whether to use it or not, give it a chance and let me know what you think.
Endwise
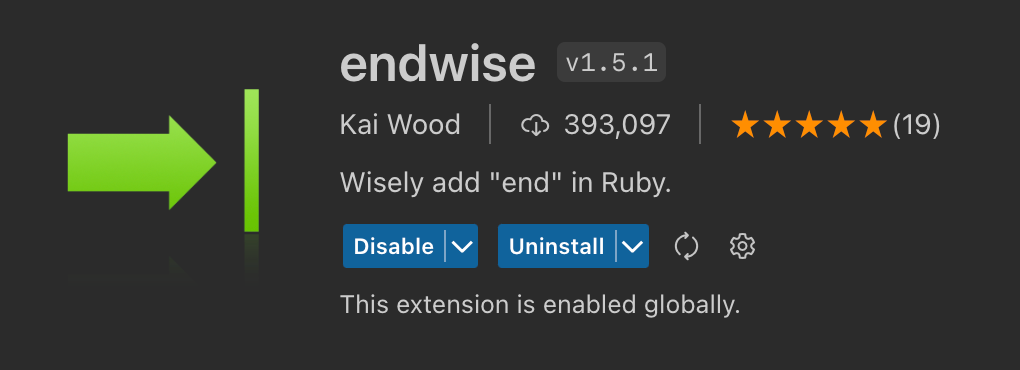
Endwise is a very handy extention that automatically adds end when required, for example if you type a new line after declaring a method or a block.
It requires zero configurations, just install it and it will works for Ruby files.
Ruby Interpolation Autocomplete
Ruby Interpolation Autocomplete is a small but well-appreciated extention that automatically add the #{} when you first type # inside a Ruby string.
This only work for strings with double apex " or backtick ```.
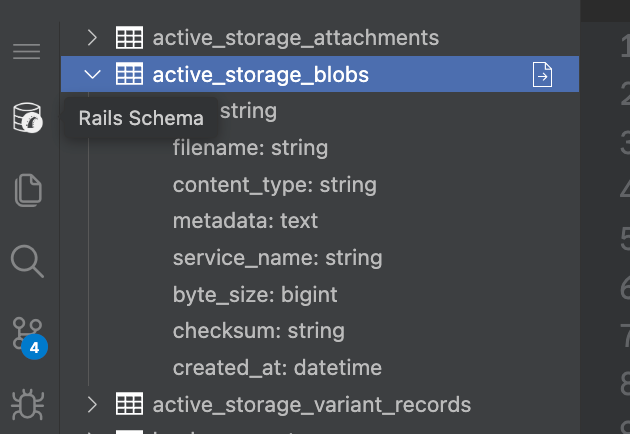
Rails Schema
Still wasting your time moving to the schema.rb every time you need to know which columns belong to a table? Please stop!
Rails Schema is a handy extension to keep a view of the database in the VS Code sidebar, it takes no time for configuration, just install it and you are ready to go.
Rails DB Schema
Another great addition to work with Ruby on Rails, Rails DB Schema offers intellisense for database columns and a quick navigation to the selected table in the schema.rb file.

ColorTabs
ColorTabs is the gem that I use to quickly recognize test files because it gives a different color to the current open tab of Visual Studio Code based on a series of regular expressions set by the user. In this case, my project uses RSpec for the test suite and I want the tabs to become green when a test is open in Visual Studio Code. In case you do not know, RSpec test files have the _spec suffix at the end of the name, that’s the way I’m using to recognize them.
my_file.rb becomes my_file_spec.rb
Here is my configuration:
"colorTabs.ignoreCase": true,
"colorTabs.titleBackground": true,
"colorTabs.titleLabel": true,
"colorTabs.config": [
  {
    "regex": ".*spec.*",
    "color": "#007f00"
  }
]
you can replace ".*spec.*" with the prefix used by your test suite. It is also possible to declare multiple patterns by adding multiple JSON objects with these fields:
{
  "regex": "...",
  "color": "..."
}
Switch to test
Switch to test is a useful extension that allows you to quickly create a test file and switch between a file and its corresponding test file. For example, if your source file is located at app/services/file.rb, your test file will be created at spec/services/file_test.rb.
Although this extension was not specifically developed for Ruby, but rather for Javascript and Typescript, it works well with Ruby by adjusting a few settings.
Here’s my configuration for using it with Ruby and RSpec:
"createTest.testFolder": "spec",
"createTest.testFileExtension": "_spec.rb",
"createTest.srcFileExtension": " .rb",
"createTest.srcFolder": "app",
"createTest.testFileTemplate": [
  "require 'rails_helper'",
  "",
  "RSpec.describe CLASS_NAME do",
  "",
  "end"
],
the testFileTemplate takes an array of elements because each element is a newline that will be written as boilerplate in the new test created.
The srcFolder is used to ignore the app folder of the Ruby on Rails project, if we omit this setting then the extension will create the test file in app/spec/services/file_test.rb that would be wrong.
Now this extension gives you two commands you can run:
Create testthat will instantly create the test, using the given template, for the file that is open at the moment or open the test file if it already exists (and is located in the right path)Go to Testthat will only try to open the test file related or display an error if the test file does not exist
You can basically run Create test all the time and forget about the other command. That’s my workflow.
Super handy, I’m loving this extension because now I can create the test with one click, no more time wasted to create nested folders for my file or copy-paste the RSpec boilerplate!
Bust a gem

Using RubyMine we can just click on a gem inside your project to see its source code and what it is doing under the hood, with VS Code this is not possible anymore.. wait! We have Bust a gem!
Bust a gem is an awesome extension that allows us to step into the source code of a gem by clicking on the method we are interested in, as we usually do to see the definition of our methods.
It requires a bit of configuration to work as expected, you can follow the official documentation to set it up but let me summarize it for you:
- Install the extension
- Install the
ripper-tagsgem with
gem install ripper-tags
- Open your Ruby project in Visual Studio Code and run the command
Bust-A-gem: Rebuild Tags - Let it run, it may take a few minutes if your project is really big
- The command will create a
TAGSfile into the root of your project, I suggest you to add this file into the.gitignoreto avoid pushing it to the online repository, your colleagues will appreciate it. - Profit!💸💸💸
Now you can see the source code of a method by looking for its definition or you can open the full source code of an installed gem by running the Bust-A-Gem: Open Gem... command in Visual Studio Code.
Highlight: Enhance Code Visibility
Highlight, as the name suggests, emphasizes specific parts of the code. It typically comes with predefined rules to highlight common annotations like TODOs, FIXMEs, and other types of comments in the code. However, it also allows us to define custom rules to highlight any section of the code we prefer.
To highlight Ruby syntax in ERB views, we can add a new rule in the VSCode JSON settings:
"highlight.regexFlags": "gi",
"highlight.regexes": {
  "(<%(?!#)[\\s\\S]*?% >)": {
    "decorations": [
      {
        "backgroundColor": "#f0d8021c",
      }
    ]
  },
}
This setting will apply a distinctive background color to Ruby syntax within ERB views, making it stand out for easier identification and understanding.

The extension offers various methods to highlight specific sections of the code, such as using different font weights, text colors, background colors, etc. I recommend referring to the extension page for detailed documentation on these features.
Tailwind CSS
TailwindCSS is undeniably the trendsetter in the world of CSS frameworks right now and after working with it I can understand why people love it so much.
The go-to extension for working with it is Tailwind CSS IntelliSense which I recommend you to install because it improves the development workflow by providing autocompletion and hover information.
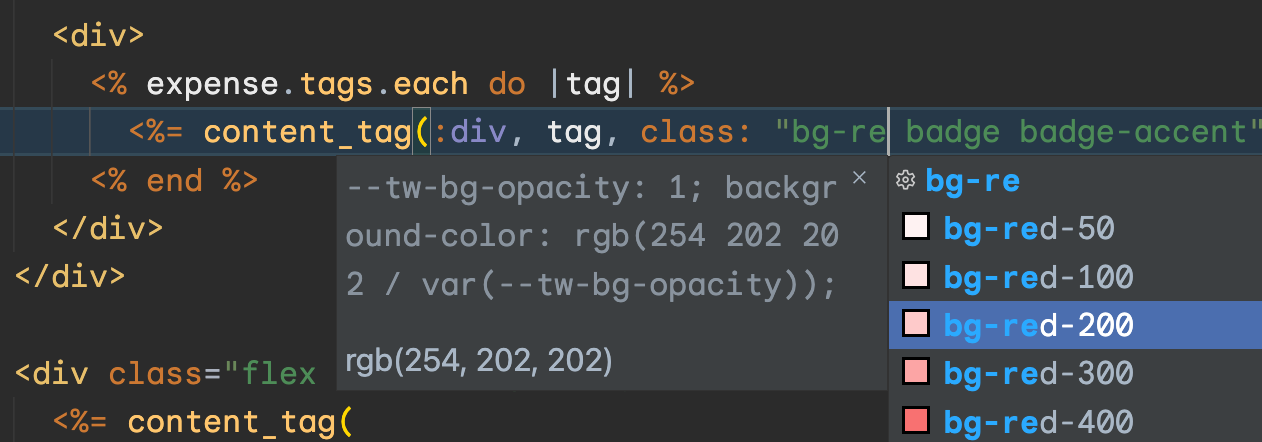
Now, to make it work with .erb files and moreover, to enable Tailwind intellisense and autocompletion with Rails content_tag, just paste these lines into your VS Code Settings!
  "tailwindCSS.includeLanguages": {
    "javascript": "javascript",
    "html": "html",
    "erb": "html"
  },
  "tailwindCSS.experimental.classRegex": [
    "class: \"|'([^\"|']*)"
  ],
and woilà, Tailwind classes autocompetion right in to your Rails views.
Rails Open Partials

As you can guess Rails Open Partials is a tiny extension that recognizes Rails view partials and opens them when you click on their name. For example, clicking on the following code
render partial: 'contents/report_item'
will open the _report_item.html.erb file.
This extension requires no configuration however I noticed it conflicts with Solargraph sometimes so it leads to the definition of a method instead of the partial file. Anyway, I put it on the list because you may find it useful, depending on your project setup.
VS Code Settings
Sticky Scroll
This is not a VS Code extension but a brand new feature of the editor. It makes the classname and method name to become sticky (stay on top) even while scrolling down, so we always know which method we are reading.

you can enable it by editing your JSON configuration with the following line:
"editor.stickyScroll.enabled": true
or looking for “sticky” in the UI Settings.
Emmet autocomplete
Did you know that you can have Emmet autocomplete in erb files?
No? Me too! It took me 3 years to find out. Now I’m regretting all the time I wasted so much time manually writingthe css elements and classes..
Emmet declares dynamic snippets so that you can just write .grid and it will replaced by <div class="grid"></div>.
But this happens only for HTML files, unless you tell Emmet that you want it to work with ERB too!
Here’s the line you should add to the JSON settings to make Emmet works with ERB files (or whatever format you are using)
"emmet.includeLanguages": { "erb": "html", "ruby": "html" }
Emmet comes with VS Code, no need to install any particular extension.
That’s all at the moment 🙂 I periodically update this post when I discover new extentions or useful settings, for example the Sticky Scroll one has been added only in mid-2023!
I hope you guys enjoyed this post, if you have any extension or setting fo suggest just reach out to me on Twitter or Mastodon I will be happy to give you the credits 🥰